Remote Logix Editor (NeosVR)
The first prototype of a remote Logix editor for NeosVR. Currently, you can only send programs to NeosVR, but you cannot receive them.
Note that the plugin is actually not tested on Linux. If you're a Linux user, feel free to test it and tell me if it worked for you.
The editor is known to be running, though.
Requirements
The idea is to code inside the editor, and then upload it to the game through Websocket. In order to receive the program inside NeosVR, you currently need a special plugin, which sources are provided at the following URL :
https://github.com/vr-voyage/voyage-neosvr-plugin
The plugin DLL are also provided in the downloads section. To use this plugin, you need to :
- Unpack the VoyageNeosVRPlugin.dll somewhere
- Copy the DLL inside NeosVR installation folder Libraries directory
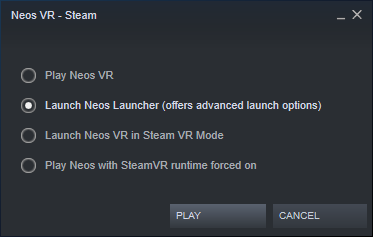
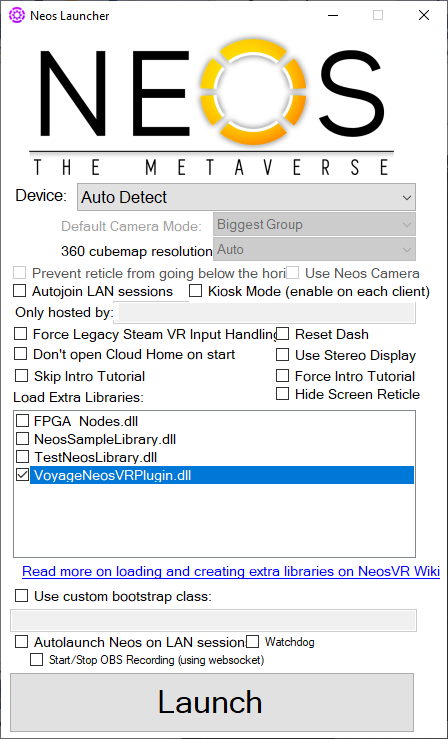
- Start the game using the NeosVR Launcher (second option on Steam) and check the box VoyageNeosVRPlugin.dll
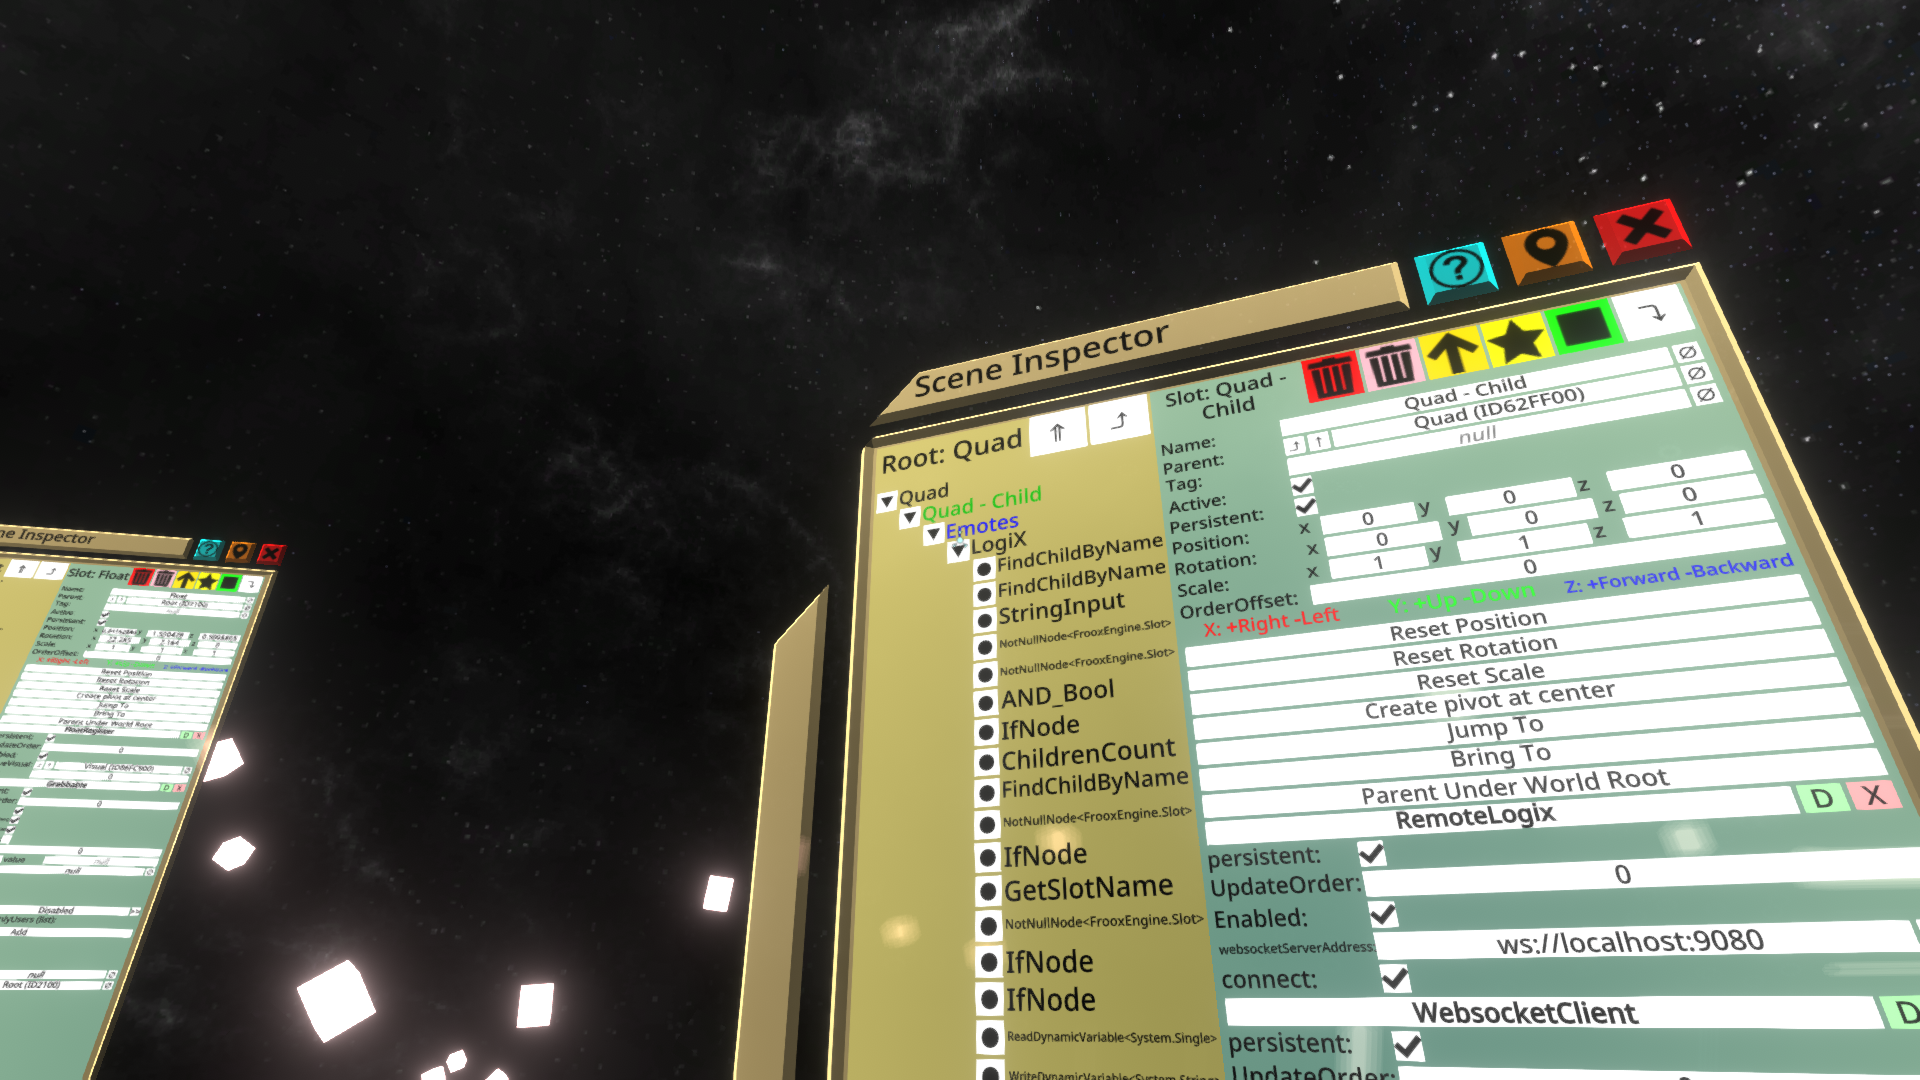
- Add a "Voyage > RemoteLogix" component to the slot where you wish to upload programs on
- Setup the URL of the Websocket server to receive scripts from. The default URL allows you to connect to the Websocket server provided by either the desktop version, or the provided relay server.
- Click the 'Connect' checkbox
While the desktop version provide a Websocket Server, for communication support, the server cannot be run inside the web version. For that reason, the web editor needs to send data through a relay which will relay the script data received to NeosVR.
Such relay server is pretty simple to put in place. Create two servers, echo the first server input to the second. The plugin only uses one-way communications.
Still, for convenience purposes, a relay server for Windows and Linux are provided in the download section. Note that these are not headless servers, they require a GUI system (X11 on Linux).
This server software will listen on port 9081 for the editor and on 9080 for NeosVR.
To use this relay system, inside the editor, go on the 'Websocket' tab and check 'Send through relay server' at the bottom of the UI and then setup the URI ( ws://localhost:9081 by default). Then on NeosVR, connect the RemoteLogix component to ws://localhost:9080 .
The relay server sources are available here :
https://github.com/vr-voyage/websocket-relay-server
Basic usage
To load the default program, click the 'Load default program' at the bottom of the "Saved_Programs" tab. To send programs, click the 'Send through Websocket'.
If you have previously backed up a program script on your computer, rename the file so that it ends with a '.slx' extension, then drop the file(s) on top of the programs list to add it (them) to the list.
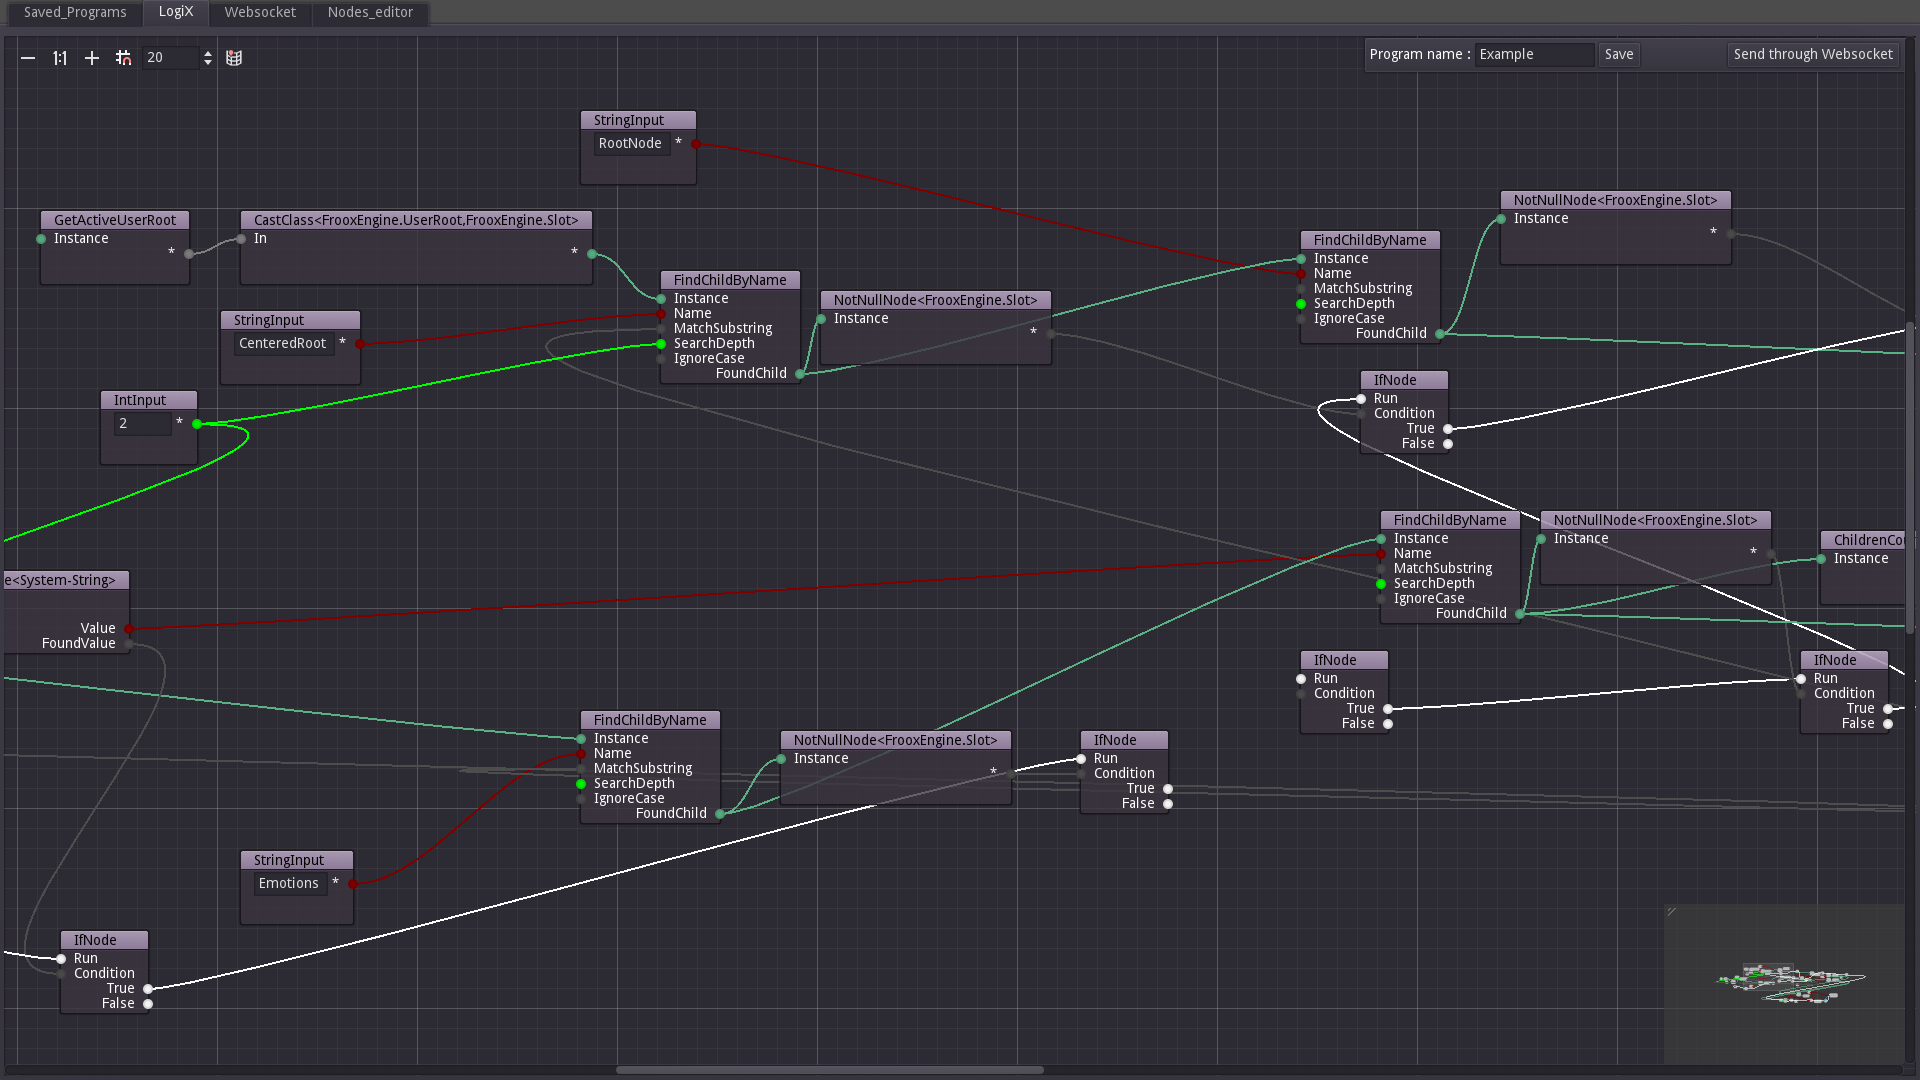
Programming is done in the 'Logix' tab.
The program name can be defined at the upper right of the 'Logix tab'. Note that the name is used as-is when saving, at the moment, so be careful.
The save mechanism use "Application Data" mechanics on the web version.
Nodes can be added by right-clicking in an empty-space and selecting the node to add.
Connecting is done by dragging the output of a node to a corresponding input of another node.
To delete nodes, select them and press DELETE on your keyboard.
You can select multiple nodes by either single-clicking nodes while keeping the CTRL key down, or by drawing a selection rectangle.
To duplicate nodes, select them and hit CTRL+D on your keyboard.
Usage of the Nodes editor is explained in the documentation here :
Download
Click download now to get access to the following files:
Development log
- First alpha version !Jun 25, 2021